I have been playing Digimon World for an embarrassingly long time, and I finally put every normally obtainable Ultimate through the same kind of test instead of ranking them on childhood vibes. This Digimon World 1 Ultimate tier list covers all 15 standard partner Ultimates, from Megadramon and Piximon down to Mamemon and MetalMamemon.
The rankings are still my rankings. What I have tightened up here is the factual layer underneath them: actual technique compatibility, how natural evolution requirements work, catalyst names, special evolutions, and the difference between a max-stat test and a normal playthrough.
Last checked: August 22, 2026. I rechecked the evolution system against SydMontague’s current 2026 evolution guide and the technique compatibility against long-running Digimon World technique documentation.
Scope: This ranks the 15 normally obtainable Ultimate partners in the original PlayStation game. It does not rank the special/promo forms Gigadramon, MetalEtemon, or Panjyamon. If you want the catalyst locations themselves, use my complete Digimon World 1 digivolution item guide.
Digimon World 1 Ultimate Tier List at a Glance
| Tier | Ultimate Digimon |
|---|---|
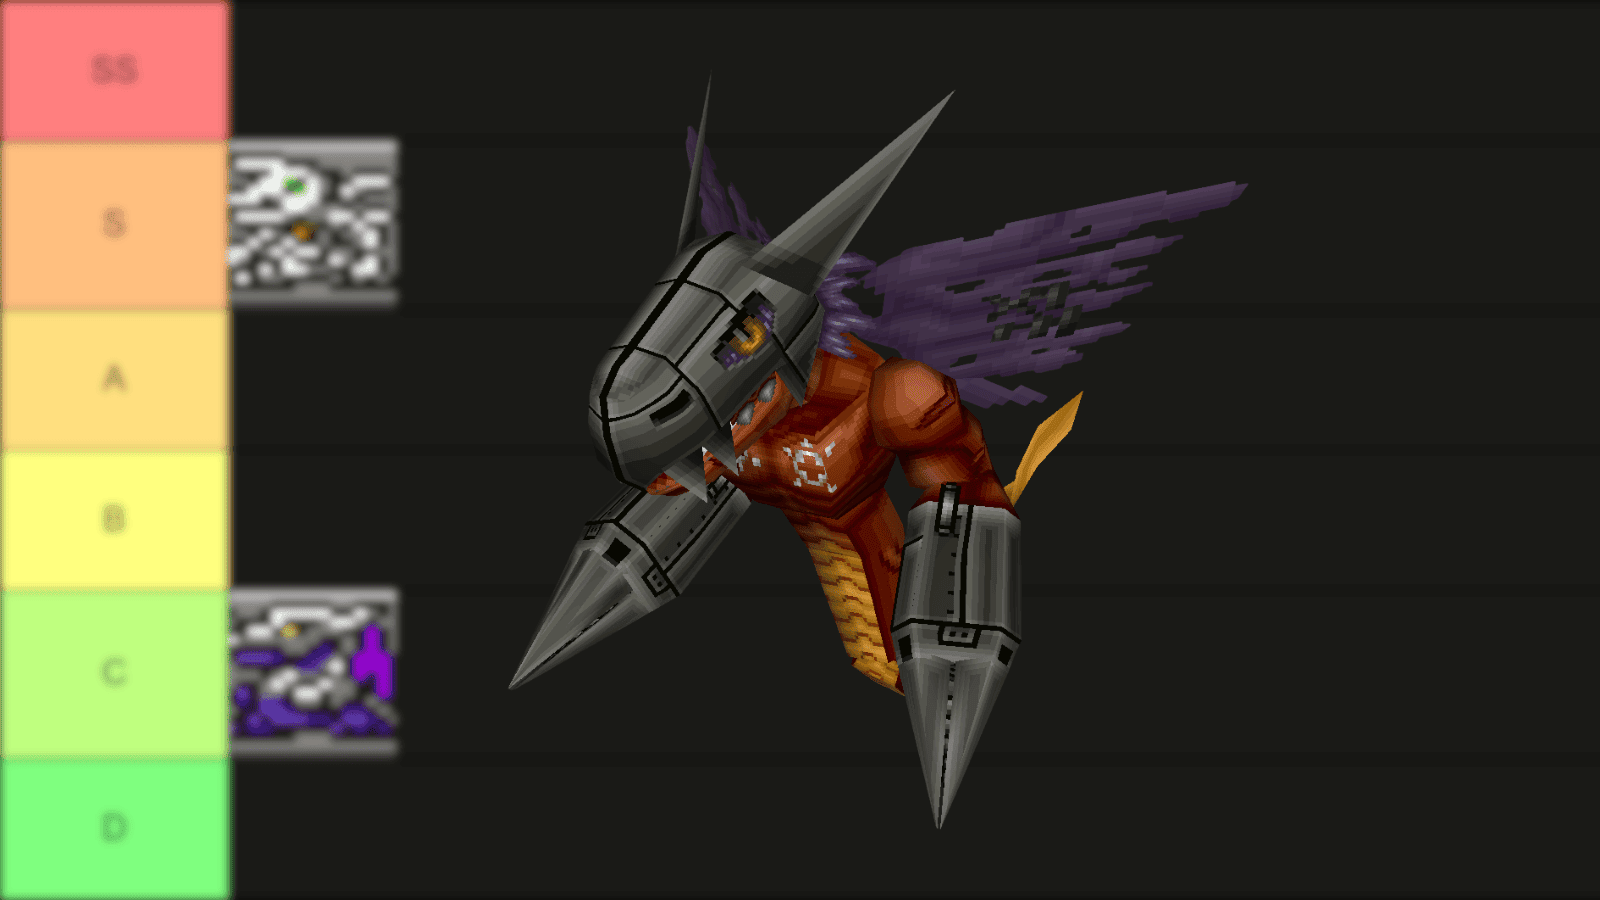
| SS | Megadramon, Piximon, H-Kabuterimon |
| S | SkullGreymon, MegaSeadramon |
| A | Vademon, Monzaemon, Phoenixmon, Andromon, Etemon |
| B | Digitamamon, Giromon |
| C | MetalGreymon |
| D | Mamemon, MetalMamemon |
If you would rather watch me argue with myself about these placements, this list is also the companion to my full Ultimate tier-list video.
How I Ranked Every Ultimate
I standardized combat testing with maxed stats so one Digimon did not win simply because I trained it harder. Then I judged four things: technique access, hitbox/body geometry, recovery speed, and acquisition difficulty. I care more about techniques that actually control a fight than raw power numbers, which is why Ice Statue, Bug, Poison Claw, Megalo Spark, and strong status effects show up repeatedly near the top.
There is one important consequence of max-stat testing: stat-boosting techniques such as Full Potential, Muscle Charge, War Cry, Aqua Magic, and Mass Morph cannot push already-capped combat stats past 999. They are excellent during a normal playthrough when your stats are lower, but they are effectively dead slots in a true max-stat comparison. I now separate those two ideas instead of using Full Potential as evidence that one max-stat Digimon beats another.
For the raw technique list and effects, I cross-checked the game’s compatibility tables and technique data. The Digimon World Technique FAQ is still one of the most useful references for which Digimon can actually equip each move.
How to Read the Evolution Requirements Below
This is where a lot of old Digimon World guides accidentally make Ultimates look harder than they are. A normal evolution has four requirement groups: Stats, Weight, Care Mistakes, and Bonus. You only need to satisfy three of the four groups to become eligible. Inside the Bonus group, satisfying any one listed bonus condition is enough.
So if an entry says “≥30 battles OR ≥30 techniques,” you do not need both. And if your Stats, Weight, and Care groups are already satisfied, you do not need the Bonus group at all. Normal Champion-to-Ultimate evolution becomes eligible after 144 in-game hours in the Champion stage. Special evolutions such as Vademon, the Monzaemon suit, death evolutions, and catalyst items follow their own rules.
For the deeper mechanics and priority rules, see the current Digimon World evolution guide.
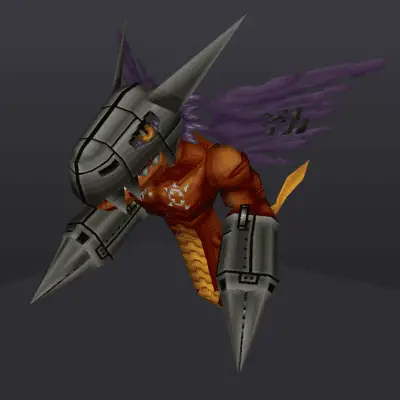 SS TIER
Megadramon
The king of my list. Ice Statue plus an elite Mech toolkit is still a ridiculous package.
Moderate
Weight: 50–60g
Bonus: ≥30 battles OR ≥30 techniques
Catalyst: Mega Hand
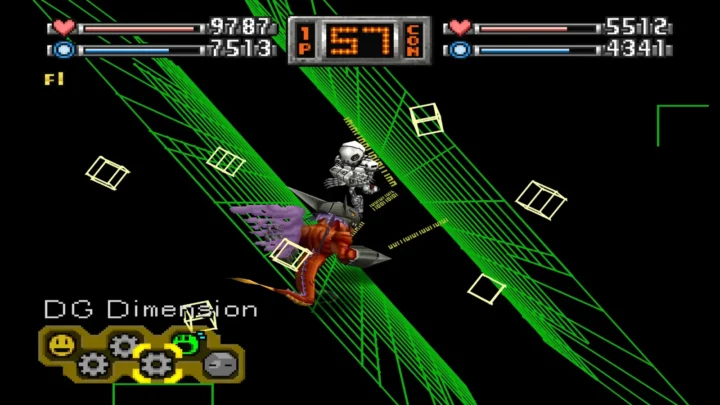
Megadramon stays at the top of my list. Ice Statue is the main reason: 424 base power, modest MP cost for that damage, long range, and a stun effect. It also has access to All Range Beam and DG Dimension, so it is not trapped in one game plan. Its body is not as tiny as Piximon’s, but in my testing it still felt much less cumbersome than some of the larger Ultimates.
 SS TIER
Piximon
Tiny body, nasty status pressure, and two of the most irritating techniques in the game.
Easy to Moderate
Weight: 0–10g
Bonus: ≥95 happiness OR ≥25 techniques
Catalyst: Small Spear
Piximon is tiny, fast to recover, and has exactly the sort of technique access that makes equal-stat testing interesting. Bug has 500 base power and can inflict Flat, while Poison Claw is extremely fast, cheap, and can poison. That combination can interrupt opponents, apply status pressure, and make Piximon maddeningly difficult to deal with.
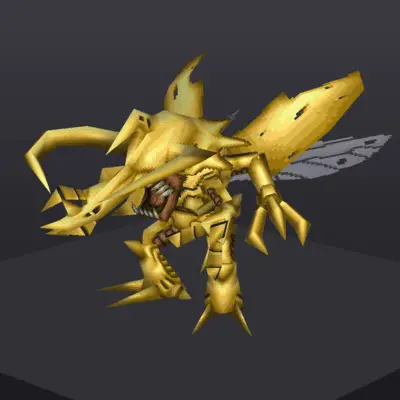 SS TIER
H-Kabuterimon (HerculesKabuterimon)
Huge target, huge requirements, huge payoff. The Earth-tech toolkit keeps it near the top.
Hard naturally
Weight: 50–60g
Bonus: 0 battles OR ≥40 techniques
Catalyst: Beetle Pearl
H-Kabuterimon is the opposite of Piximon physically: huge, easy to target, and sometimes clunky. The moveset is strong enough that I still keep it in SS. Bug and Poison Claw give it the same brutal Earth-tech core, while Prominence Beam can inflict Flat and Megaton Punch gives it a solid stun option at close range.
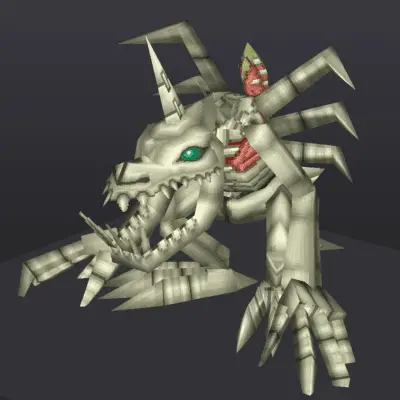 S TIER
SkullGreymon
A giant glass cannon with Ice Statue, strong coverage, and more evolution routes than most people realize.
Hard, but many routes
Weight: 25–35g
Bonus: ≥40 battles OR ≥45 techniques
Catalyst: Fatal Bone
SkullGreymon earns S because the move access is excellent even though the body is enormous and my recovery testing was less flattering. Ice Statue is the centerpiece. It also has All Range Beam and a deep Battle-tech pool, so you can build around more than one range.
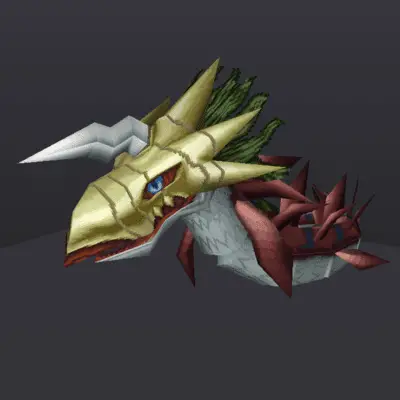 S TIER
MegaSeadramon
Confuse them, freeze them, flatten them. One of the best control-oriented Ultimates in the game.
Moderate to Hard
Weight: 25–35g
Bonus: 0 battles OR ≥40 techniques
Catalyst: Coral Charm
MegaSeadramon is a status-control machine. Ice Statue gives it the same elite stun tool as Megadramon, while Confused Storm adds confusion and Aurora Freeze adds a powerful Wide attack with Flat. Its long body looks like it should be a liability, but in my own testing its geometry could make some attacks behave strangely around it.
 A TIER
Vademon
Stop laughing at the alien. Bug, DG Dimension, a small body, and one of the strangest evolution routes in the game.
Easy, but time-gated
Weight: N/A
Bonus: Praise or scold at evolution counter ≥240h: 50% chance; forced at exactly 360h
Catalyst: Ray Gun
Vademon still deserves more respect than it gets. Bug alone gives it a top-tier offensive/status option, and its Mech compatibility includes DG Dimension and Full Potential. Its small body also helps in the exact sort of messy 1v1 battles where giant partners absorb everything thrown at them.
 A TIER
Monzaemon
The accessibility king. Numemon plus the Toy Town suit can turn disaster into an Ultimate immediately.
Very Easy through Toy Town
Weight: 35–45g
Bonus: ≥50 battles OR ≥49 techniques
Catalyst: X-Bandage
Monzaemon is still the accessibility king. If you have Numemon and the Monzaemon suit in Toy Town is still available, that special evolution bypasses the natural grind completely. Once evolved, Megalo Spark, Thunder Justice, and Confused Storm give the teddy bear a genuinely useful Air-tech package.
 A TIER
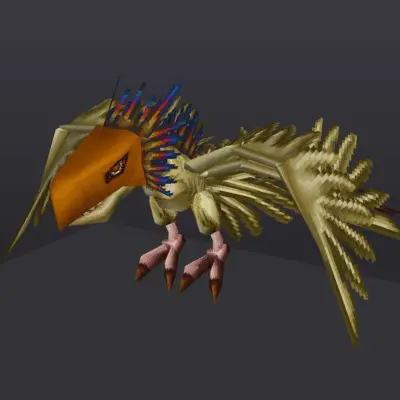
Phoenixmon
Demanding naturally, excellent once you get there, and backed by one of the strongest conventional attack pools.
Hard naturally
Weight: 25–35g
Bonus: 100 discipline OR 0 battles OR ≥40 techniques
Catalyst: Red Ruby
Phoenixmon has one of the better conventional attacking kits in the game. Thunder Justice and Megalo Spark give it strong Air options, Confused Storm adds control, and Meltdown brings a 400-power Wide fire attack with stun. The natural evolution is demanding, but the moveset absolutely rewards it.
 A TIER
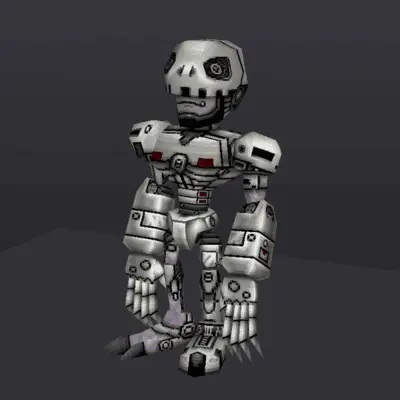
Andromon
Reliable, flexible, and easy to plan around. The sensible Ultimate in a game full of weird little monsters.
Easy to Moderate
Weight: 35–45g
Bonus: ≥95 discipline OR ≥30 battles OR ≥30 techniques
Catalyst: Cyber Parts
Andromon is one of the easiest Ultimates to recommend because it has five natural Champion routes and a forgiving stat profile. It can use Megalo Spark and the entire Mech-tech row, including All Range Beam and DG Dimension. It is not as obnoxiously status-heavy as the SS monsters, but it is reliable.
 A TIER
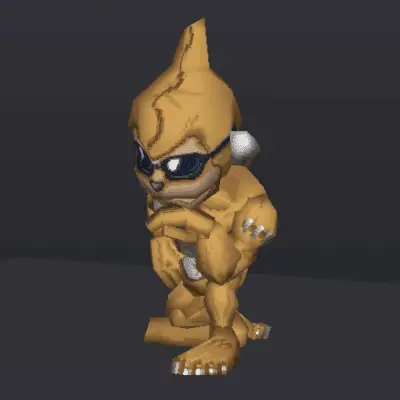
Etemon
A monkey throwing filth who is somehow genuinely dangerous. Digimon World understood comedy.
Hard naturally
Weight: 10–20g
Bonus: ≥50 battles OR ≥49 techniques
Catalyst: Golden Banana
Etemon is much better than the joke character presentation suggests. It has the full Battle-tech row, access to Thunder Justice and Megalo Spark, and even the wonderfully disgusting Ultimate Poop Hell. In my testing its smaller body and recovery felt better than several heavier Ultimates.
 B TIER
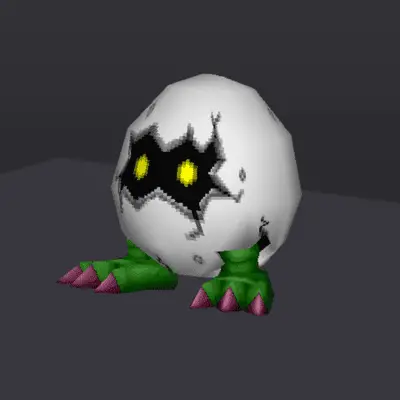
Digitamamon
Fantastic normal techniques trapped inside one of the slowest recovery animations on this list.
Very Hard naturally
Weight: 5–15g
Bonus: ≥100 battles OR ≥49 techniques
Catalyst: Mysty Egg
Digitamamon looks terrifying when you fight it, but the partner version lands in B for me because its recovery is painfully slow and its finisher has a bizarre risk: the moving attack can hit Digitamamon itself. The normal technique pool is actually good, with Thunder Justice, Megalo Spark, Confused Storm, and the full Fire row available.
 B TIER
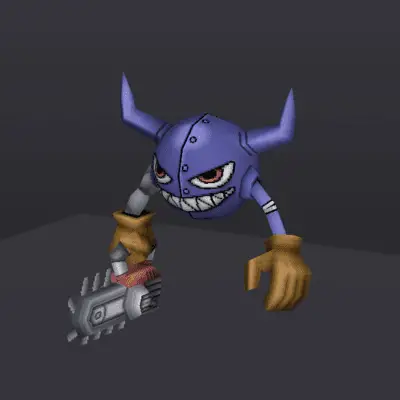
Giromon
The movepool wants SS. Deadly Bomb keeps dragging it back down the stairs.
Moderate
Weight: 0–10g
Bonus: ≥95 happiness OR ≥100 battles OR ≥35 techniques
Catalyst: Chainsaw
Giromon is the placement that makes people yell at me, and I understand why. The normal move pool is excellent. Thunder Justice, Megalo Spark, DG Dimension, and the full Mech row give it answers for almost everything. I keep it in B because Deadly Bomb is one of the least reliable playable finishers in the game: the bomb lands in the arena and the opponent has to actually meet it.
 C TIER
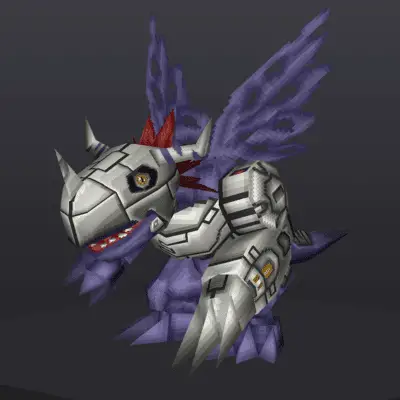
MetalGreymon
Better than I originally gave it credit for, but still outperformed by the specialists above it.
Moderate
Weight: 60–70g
Bonus: ≥95 discipline OR ≥30 battles OR ≥30 techniques
Catalyst: Metal Parts
This is the entry where the old version of my article was too harsh factually. MetalGreymon is not limited to slow Mech moves with no useful status effects. It can use Infinity Burn and Meltdown, both of which can stun, plus the full Mech row and several Battle techniques. I still rank it lower based on how it performed for me under equal conditions, but the factual move pool is much better than I originally described.
 D TIER
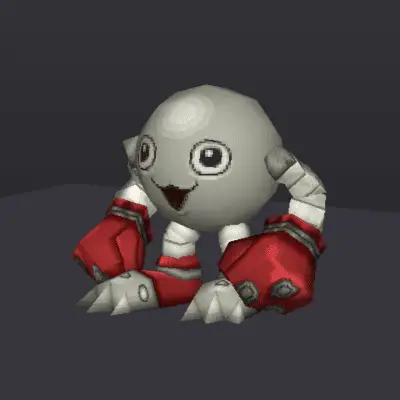
Mamemon
More technique access than the old writeup claimed, but still not enough to escape my bottom tier.
Easy to Moderate
Weight: 0–10g
Bonus: ≥90 happiness OR ≥25 techniques
Catalyst: Silver Ball
Mamemon remains near the bottom for me, but “abysmal moveset” was too broad. It can use the entire Battle row plus selected Mech techniques including Pulse Laser, Reverse Program, and Full Potential. The problem is that I would still rather have the status pressure and technique speed of the higher tiers, especially once every Digimon has equal stats.
 D TIER
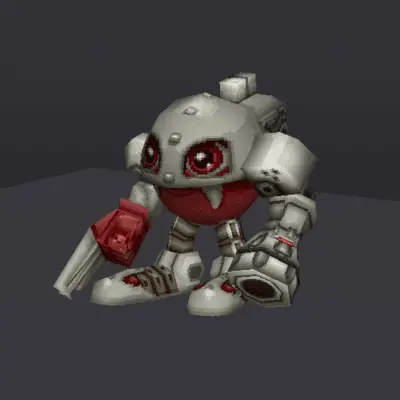
MetalMamemon
Useful tools exist here. I just never found a reason to pick the whole package over better Ultimates.
Moderate
Weight: 5–15g
Bonus: ≥95 happiness OR ≥30 techniques
Catalyst: Metal Ball
MetalMamemon is another entry where the old writeup understated the actual movepool. It does not have every Mech and Battle technique, but it can use useful options such as All Range Beam, Pulse Laser, Delete Program, Reverse Program, Counter, Megaton Punch, and Buster Dive. I still put it in D because its overall package never performed as well for me as the specialists above it, not because it literally has no status tools.
Digimon World 1 Ultimate Tier List FAQ
How many Ultimate Digimon are in Digimon World 1?
There are 15 normally obtainable Ultimate partner Digimon in the original PlayStation game. Gigadramon, MetalEtemon, and Panjyamon exist in the game’s wider data/history but are not part of the normal standard-play roster, so I exclude them from this tier list.
What is the best Ultimate Digimon in Digimon World 1?
My overall pick is Megadramon, mainly because Ice Statue is so effective and it also has excellent Mech-tech access. Under strict max-stat conditions, Piximon has a very serious argument because Bug and Poison Claw remain fully useful while stat buffs do not.
What are the best techniques in Digimon World 1?
For 1v1 combat, I value Ice Statue, Bug, Poison Claw, Megalo Spark, Thunder Justice, and strong status effects very highly. Full Potential is excellent during normal progression, but once Offense, Defense, and Speed are already at the 999 cap it cannot raise them further.
Do I need to meet every Ultimate evolution requirement?
No. Natural evolutions use four groups: Stats, Weight, Care Mistakes, and Bonus. You need three of those four groups. When the Bonus group lists several options, meeting any one of those options satisfies the group.
Can Megadramon evolve into SkullGreymon?
Yes. Megadramon and MetalGreymon each have a 10% chance to special-evolve into SkullGreymon when they lose a life.
Can Kokatorimon evolve into Phoenixmon?
Yes. Kokatorimon has a 10% chance to special-evolve into Phoenixmon when it loses a life.
Final Ranking
Megadramon is still my number one overall, Piximon is still a tiny nightmare, and I am still willing to defend Giromon in B even while its moveset tries to drag it upward by force.
The biggest change from the original article is not the tier letters. It is the reasoning underneath them. Full Potential does not make a max-stat Digimon stronger. Evolution requirements are not one giant checklist. H-Kabuterimon uses Beetle Pearl, MetalMamemon uses Metal Ball, and MetalGreymon’s movepool is far better than I originally gave it credit for.
If you are planning which Ultimate to raise rather than just arguing about the rankings, my digivolution item guide covers every catalyst and where it comes from. If you are playing on PC, my DuckStation settings guide covers the emulator side.
And if you still think Giromon belongs in SS, I respect the commitment. I am not moving him.